


Chapter 2
Adding prototypes to a maze
In this chapter, we look at how to add a prototype to your maze with the Mission Block and best practices for prototype testing that get actionable insights, fast.

Mission Blocks allows you to test prototypes with users and get actionable data that helps you make informed design decisions. In this chapter, we’ll look at how to get your prototype ready for testing.
Create a prototype in your design tool
Maze works seamlessly with prototypes you've already created. To begin testing your prototype with Maze, all you need to have on hand is the prototype URL—it’s that simple!
Maze fully supports Figma prototypes.
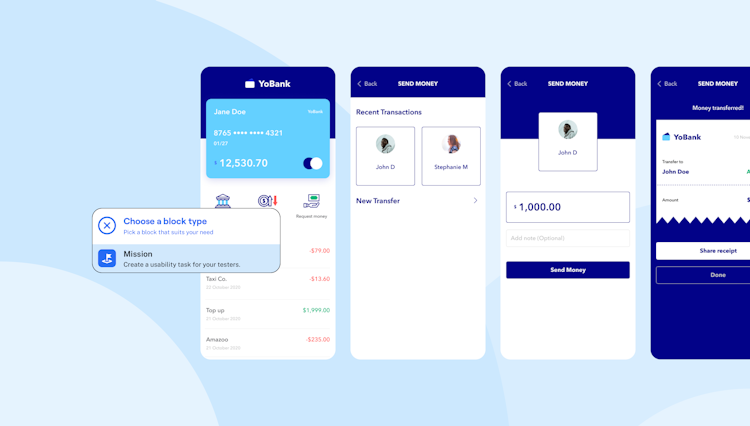
Creating prototype tests in Maze includes setting missions alongside your desired questions for users to complete. Missions are tasks users normally do in a live product, for example, signing up or adding a new profile picture. These missions are completed by clicking or tapping on the screens in a prototype.
That's why it’s very important that the screens and hotspots in your prototype are specifically defined for testing. If you’ve already built your prototype in one of the tools Maze supports, you can start testing right away by importing your prototype into Maze.


Importing your prototype with the Mission Block
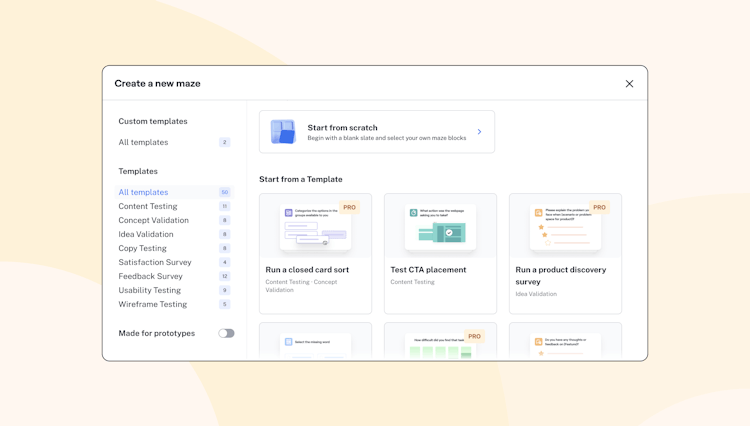
Create a new maze by clicking ‘Add maze’ from within your Project and then add a Mission Block. The Mission Block is where you can add and manage your prototype link.
Simply copy your URL into the dedicated Mission Block field and click ‘import’. You’ll see your prototype load in the builder and you’ll then be able to begin building paths related to your file.
Here are step-by-step instructions on importing a prototype from Figma
Good to know! 💡
Within a Maze you can link one prototype but within a Project you can test multiple prototypes.
When should you test? From low- to high-fidelity prototype testing
With Maze, you can test a prototype at any level of fidelity—all you need is a flow you can test with users. For example, for an e-commerce website, the user flow for the check-out process can be divided into these categories:
- Store homepage
- Product page and information
- Cart and check out
- Purchase and shipping
With the user flow determined, you can create a prototype with your designs, and submit it to test with Maze.
You can test the full flow of your product from beginning to end to learn if users can complete tasks with your website or app. Or, you can dive into a particular section of your product, such as the check-out process, and test copy and language, element placement, visual design, and more.
Make sure to test at least once before you handoff the designs to development using a mid- to high-fidelity prototype, and if possible, test earlier and more often during the entire product development process. This way, you'll make sure users are able to learn and use your product successfully.
Best practices for creating missions

When you have a prototype to import, you’ll have to create a mission for it. There are some best practices to follow when you create missions to get accurate results and provide a good testing experience to users.
Good to know! 💡
When you edit and create a maze, it's in draft mode. After you’re done creating your maze, you’ll need to set it live to start testing. A live maze is one that records and stores interactions and responses.
When you create a Mission Block, aim to:
- Start with a simple mission: Begin your test with a walk-through mission to help users get into the testing mindset and become familiar with the experience.
- Give users one task at a time: Keep your missions short and focused on a single task. This avoids overwhelming the user with complex instructions they may need to reread.
- Set a scenario: The missions in your test should represent real actions people do in your app or website. Set a scenario by detailing why they need to do that particular task, and share all information needed to complete it.
For example: “You want to start tracking expenses for your business. Sign up and set up your business details to get started."
Tip 💡
Read more tips and best practices for creating great missions for your Maze tests.
The anatomy of a mission
A mission is made up of the task, the description, and the expected path users are likely to take. Let's look at these three elements in detail.
Tip 💡
You can format the text in your maze with Markdown. Learn more.
1. The task. A short, actionable sentence that defines the goal users have to complete.
Examples of tasks:
- Sign up on X app
- Complete order
- Add a new credit card to your account
- Purchase monthly subscription
- View your balance
- Verify your account
Aim to keep your task concise and give users a clear task to complete. Take a look at more best practices for creating usability tasks.
2. The description. A longer sentence that gives general instruction and sets the scene of the task.
Tip 💡
Refrain from giving users instructions on what to do, where to click, or tap.
Example of a mission description: “You’ve forgotten the password to your account. Go through the necessary steps to change your password.”
The mission description should be clearly written and avoid leading instructions that give users hints on where to click, what to do, or how to navigate the interface. Check out more best practices for writing mission descriptions.
3. The prototype field. This is where you can add, edit, or unlink your prototype. To manage the prototype you’ve linked, hover over the linked prototype and click on the three dot menu. In the modal that appears, you can change your prototype’s settings or unlink the file.
4. The expected path. The flow you expect users to take to complete the mission. You can set more than one expected path for a mission if there are different valid ways to complete it. For example, your product allows users to sign up from a landing page and from the main website.
Good to know! 💡
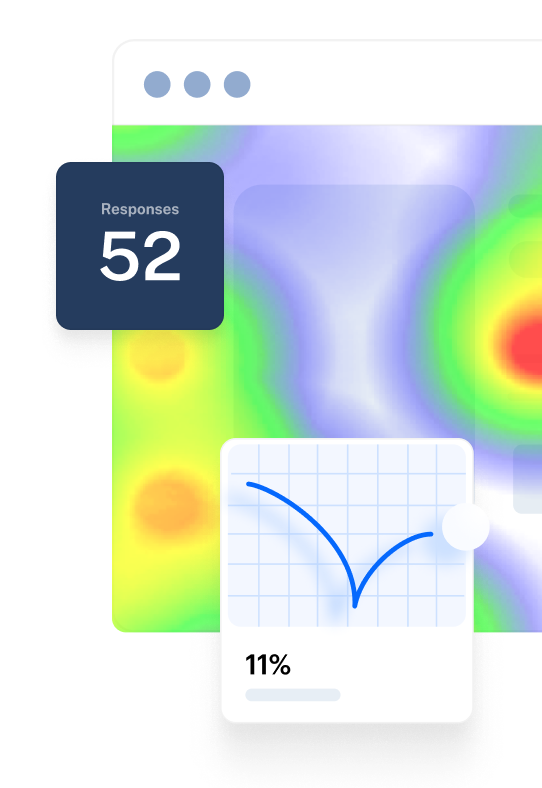
Maze records every path users take to complete the missions in your maze. The expected paths you set will be used to measure the direct and indirect success metrics in your results.
To set the expected path, click on the hotspots in the prototype on the right side of the maze creation dashboard.
You can see how missions will appear to users —and your maze overall—by clicking on Preview in the top right corner. Note that no interactions are recorded when you preview your maze.
Missions allow you to record quantitative metrics and usability data, while questions can help you to gauge user opinion and gather qualitative feedback.
Tip 💡
Enhance your prototype test by including follow-up questions to your Mission Block. Missions allow you to record quantitative metrics and usability data, while questions can help you to gauge user opinion and gather qualitative feedback.
A/B test your prototype with Maze
If you want to compare how two or more variations of your design perform with users, you can conduct an A/B test with your prototype in Maze.
Follow the guidelines below depending on whether or not you have created missions and questions for your maze yet.
Tip 💡
For both options below, you don’t need to create two separate prototypes. Make changes to the same prototype after importing your first version to Maze.
1. You haven’t created missions and questions, but you imported version A of your prototype → Use the Import new prototype version feature
After you imported version A of your prototype to Maze, go back to your design tool, and make the changes you need for testing. When you’re done, return to Maze and click the Import new prototype version button. This will create a new draft maze with the changes you made to your prototype.

Importing a new prototype version
Now that you have two draft mazes—version A and B—define missions and create questions to send both tests live. When testing is done, analyze your results and determine the winning version.
2. You already defined missions and questions for version A of your test → Use the Duplicate feature
If you already defined missions for version A of your test, go back to your design tool, and then make the changes you need in the design for testing.
Back in Maze, use the Duplicate feature to create a new draft maze with the changes you made in the prototype while keeping the defined blocks.


Duplicating a maze
Now that you have two draft mazes—version A and B—set them live and start testing with users. When testing is complete, analyze your results to determine the winning variation of your design.
Tip 💡
You can change the name of your maze to differentiate between multiple tests in the same project.